Zendesk
To help you integrate Zendesk with Thankful, we’ve written step-by-step instructions.
Note: Due to limitations placed by Zendesk, you must have a Team, Professional, or Enterprise Zendesk account to perform this integration.
Part 1: Provisioning a Seat
Thankful needs its own seat to reply to your customers. Be sure that:
- The email is set to: be@thankful.ai
- The role is Admin or Custom Role
This is the seat Thankful will ultimately use to reply to your customers.
It’s easiest to create the seat with Admin permissions. If you are on a Zendesk Enterprise plan, you can alternatively create a new role for Thankful with limited permissions. See here for more details on creating a custom role and the trade-offs involved.
Note: If you have a single-sign-on (SSO) provider, you’ll need to manually trigger a password reset for the be@thankful.ai account before continuing.
Part 2: Integrating Thankful with Zendesk
-
Go to Integrations and click “+ Add Helpdesk Integration,” select “Zendesk” from the drop-down, and click “Add Integration.”
-
Click “Notification Endpoints” and “+ New Notification Endpoint,” naming this “Zendesk” if you have only one brand and region, but if you want to support multiple ecommerce backends or customize responses based on the brand, create one endpoint per region or brand. Click “Save” and take note of the generated URLs, which we’ll need soon.

-
In your Zendesk admin dashboard, navigate to API on the left-hand sidebar. Enable Token Access, then generate a new token. Copy and paste that generated token into Thankful on the Channels page in the appropriate field. Also fill in the Subdomain and Email fields with the appropriate values from your Zendesk admin account. This fields give Thankful API access to interact with customer tickets.
-
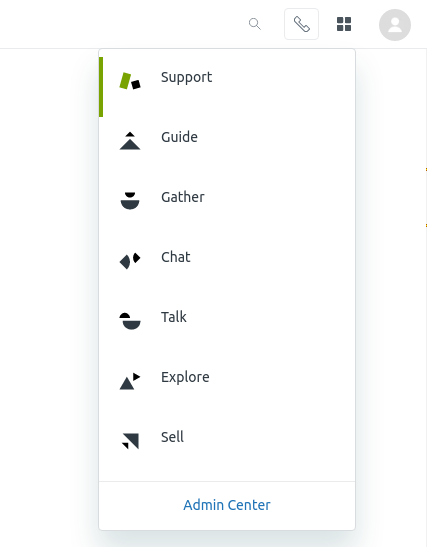
Now that Thankful has API access into your Zendesk account, we’ll need to have Zendesk notify Thankful every time a ticket changes. To do that, we’ll navigate to the Zendesk Admin Center. Select the four boxes in the top-right, and navigate to the “Admin Center”.
-
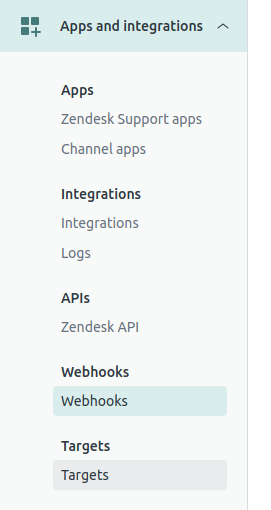
From there, select “Apps and integrations”, then select “Webhooks” on the left sidebar, and select “Webhooks”. From there, you can click “Actions” on the top right, and “Create Webhook”.
-
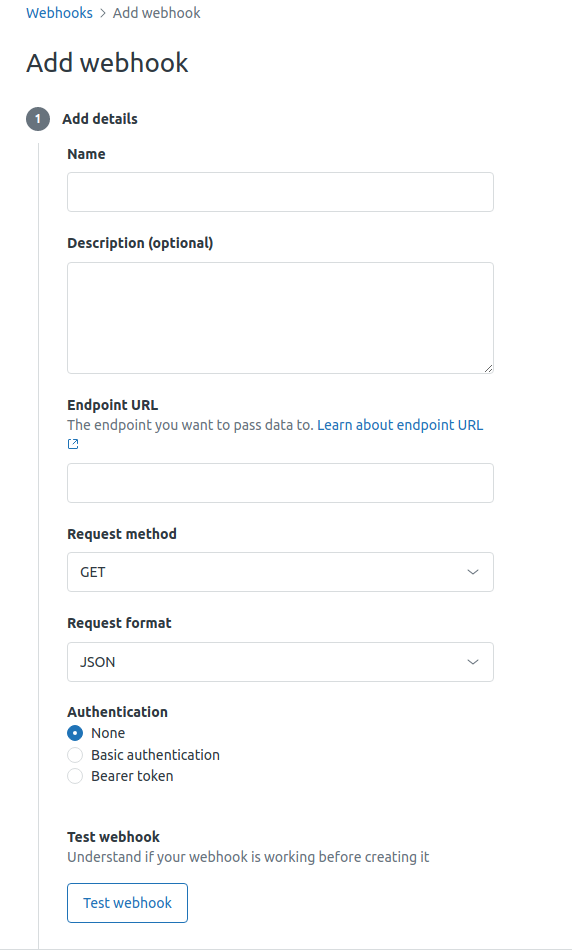
In the form that appears, fill out the URL with the Request URL Thankful gave you on the Channels page earlier. Set the Method to POST, and ensure JSON is selected. Before submitting, ensure that you’ve named the trigger with a descriptive title, like “Thankful.” Basic Authentication should not be checked. Click Create.
-
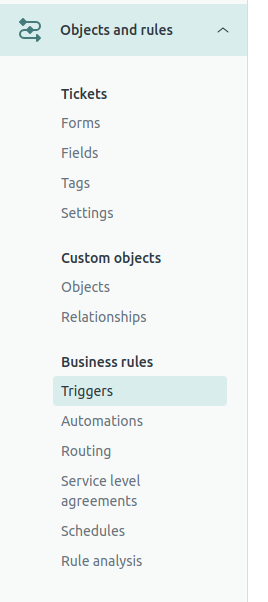
We’ve added Thankful as a target, but we still need to add triggers that tell Zendesk when to ping Thankful. Navigate to Objects and Rules on the left sidebar of the Zendesk admin dashboard, then click “Triggers.” From there, select “Add Trigger” on the top right of the web form.
-
Name the trigger anything you’d like, such as “Notify Thankful of Ticket Change,” then add the following conditions to the all conditions section:
Ticket: Update viaIs notWeb service (API)CommentIsPublic
Also add the following conditions to the any section:
- Ticket: Is… Created
- Ticket: Is… Updated
In the “Perform these actions” section, select “Notifications: Notify target” and ensure your Thankful target from earlier is selected.
In the JSON body, ensure it has the following content written exactly as it appears here. Any stray characters will prevent this from working.
{
    "id": {{ticket.id}}
}
Please note that Zendesk will highlight a syntax error in the above JSON, but this is due to a bug in Zendesk’s syntax highlighting. The above JSON will work exactly as-is.
Then click “Create trigger.” Congratulations, you’ve integrated Zendesk!
Important Considerations
Zendesk requires the following for us to perform our job as an agent:
- Thankful should be added to all Zendesk groups. If we are the assignee to a ticket but not part of the group, Zendesk will not allow us to unassign ourselves.
- Adding or changing required ticket fields in Zendesk will prevent Thankful from marking tickets as solved. If you are going to change your required ticket fields, let us know before you do, so we can have Thankful fill those in through a flow.
- Very rarely, such as in the case of an outage, Thankful will not handle a ticket to which it’s assigned. As a failsafe precaution, create an automation to unassign Thankful from open tickets after 1 hour.
Supported Features
The following features with checks are supported in this helpdesk.
| HTML | ✔ |
| Emoji | ✔ |
| Inline Images | ✔ |
| Read Attachments | ✔ |
| Merge Tickets | ✔ |
| Create Tickets | ✔ |
| Tags | Value-based |
| Chat Buttons | - |
| Channels | Email, SMS, Social, Thankful Chat |